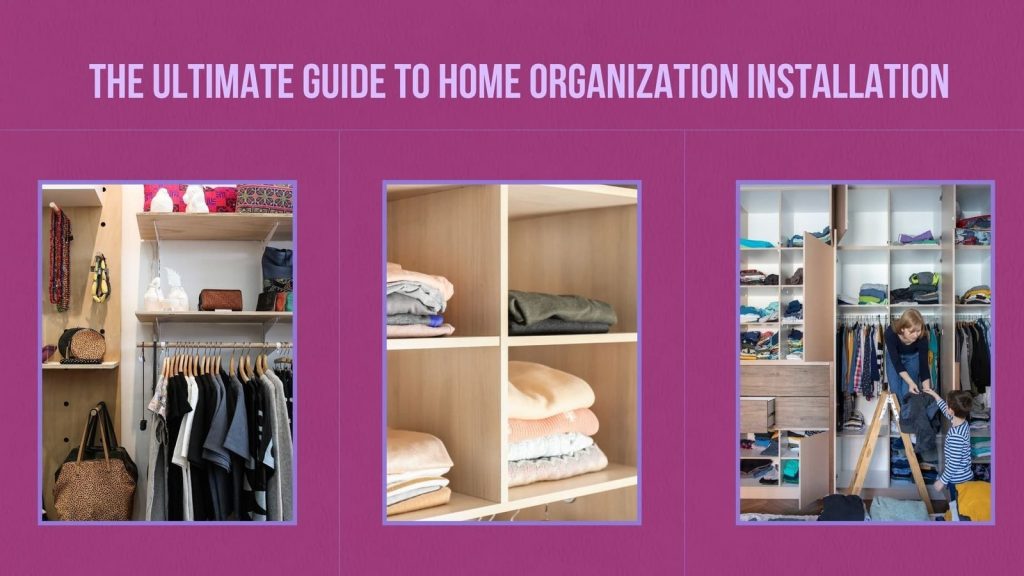
A home that is neatly arranged not only guarantees an impressive appearance but also leads to the practical use of space in the house. For functionalities involving storage, space consolidation, or even welcoming people into one’s premises, a home organization installation is crucial. Here, you will find general information about planning, necessary tools and materials, a step-by-step guide for home organization installation, and recommendations on how to avoid or cope with problems.
Want to learn how to organize your home? Let’s get into it!
Here is your complete home installation guide!
Planning Your Space
The first procedure that has to be followed when it comes to home organization installation is planning. This involves proper evaluation, calculation, and determination of the right storage options that may suit you.
Assess your needs:
First of all, identify the places in your home that require organization and management. Determine the particular issues that are currently causing concern to you, for instance, overcrowded clothing storage facilities, counter space or areas, or children’s play areas. Identifying the areas of weakness will enable one to target efforts on developing solutions to offer a direct solution to these weaknesses.
Measure your space:
It is significant to note that measurements should ideally be precise when approaching any home organization project. To gather information on the various spaces you wish to organize, make sure that you take measurements of the spaces you intend to organize using the tape measure. Remember to take the height, width, and depth, and whether there are barriers like doors and windows or other domestic items.
Decide on storage solutions:
Now it is necessary to select the proper types of storage. Choices vary from wall bookcases, built-in closets, and mobile storage to hooks and rolling under-bed carts. When making your selection, you should take your budget into consideration and the style you want to achieve for your home.
Tools and Materials Needed
Compiling all the items that you will need before starting the installation process will be very helpful in the overall installation process.
Tools and materials needed
Tools
Tape measure: For measurement, This is used for measurement.
Level: It is crucial for your installations to be straight.
Drill: for creating holes in the wall or fixing furniture.
Screwdrivers: Phillips and flat heads for assembling and fixing different fixtures.
Hammer: This can be used for nailing the items into place.
Stud finder: It is used to identify the positions of the studs in your walls for safer accessory fixing.
Saw: for sawing the shelving or panels into the required dimensions when needed.
Materials
Shelving units: Get all the shelving units!
Brackets and mounts: bolts used when fixing shelves and other fixations in the ceiling, walls, floors, or any surface.
Storage bins and boxes: As a storage solution meant for organizations, they can hold small items in a neat manner.
Labels: To enable users to easily identify the contents of the bins and boxes.
Hooks and hangers: personal items such as coats, bags, keys, and other such things.
Step-by-Step Installation Process
The procedure of installation regarding matters of home organization must be properly and systematically done for the project to be effective.
Observe and clean the environment:
Before you proceed to install the door, make sure its surrounding area is free from every item. Also, clean it.
Mark your layout:
Take a pencil in order to make notes of where the shelves, cabinets, or other storage installation will occur. One should make sure of the measurements used and level the structure to check for straight lines.
Install shelving and fixtures:
Installation of the shelves as well as other large fixtures should be started first. Before fastening your shelves, it is recommended to drill pilot holes, and then you should screw your shelves properly with brackets and screws. When fixing the shelves on the drywall, it is required to use additional support in the form of anchors.
Add storage accessories:
When costly items such as cupboards, wardrobes, and counters are probably installed, the next thing to put there is the hooks, the baskets, and the bins. While it is necessary to have clean and clutter-free spaces, it is much more important to make sure that everything is perfectly reachable and has an obviously practical use.
Organize Your Items:
Begin reintroducing your items into the area now that it has been reconfigured. Categorize your items so that like items are kept together, and use labels so that the categories stay as they are over time.
Common Challenges and Solutions
However, it does not matter how much time you spend planning; you may still meet some difficulties during the installation of the home organization. These are some problems and solutions that people face in their daily activities or lives.
Challenge: Limited Space
Solution: Make use of vertical space; this might include tall bookshelves or tall sets of storage lockers. Check on multiple pieces of utility furniture that have storage possibilities; for instance, ottomans or beds with drawers.
Challenge: Budget Constraints
Solution: For the latest designs, but on a budget, search for inexpensive storage from thrift stores or use it as storage equipment. Sustainable furniture solutions can be achieved by redesigning other furniture or by using baskets, which can be easily bought at a cheaper price.
Challenge: Maintaining Organization
Solution: Design a daily, regular cleaning and tidying schedule. Label the storage areas and the bins so that when you need something, it is easy to find it.
Challenge: Adapting to Changing Needs
Solution: Select open shelving, which can be changed over time as your requirements change. It is advisable to change and organize the layout of the environment frequently, depending on improvements.


