
Introduction to Play Equipment Assembly
As the warm weather arrives, many parents and caregivers look forward to setting up kids play equipment in the backyard. Whether it’s a swing set installation guide, a playset, or other outdoor play equipment, assembling these structures can provide endless fun for children while encouraging outdoor play. However, it’s essential to assemble the play equipment properly to ensure safety, stability, and enjoyment.
In this step-by-step play equipment assembly guide, we’ll walk you through the process of assembling your backyard playground. This guide is designed for those who want to tackle DIY playset installation and understand how to safely set up play equipment for kids in 2025.
Tools and Materials Needed
Before starting your play equipment assembly, make sure you have all the necessary tools and materials on hand. Here’s a checklist of what you’ll need to successfully assemble your play equipment:
- Power Drill and Bits: Used for screwing in bolts and screws.
- Wrench Set: For tightening nuts and bolts.
- Rubber Mallet: To avoid damaging parts when tapping them into place.
- Measuring Tape: To ensure precise measurements and alignment.
- Level: To make sure the playset is balanced and stable.
- Screwdriver: Manual or power-driven for smaller screws.
- Safety Gear: Gloves and safety glasses for personal protection.
- Screws, Bolts, Nuts: These should come with your playset kit; ensure they are the correct size.
Additionally, keep the play equipment’s instruction manual handy for reference during assembly.
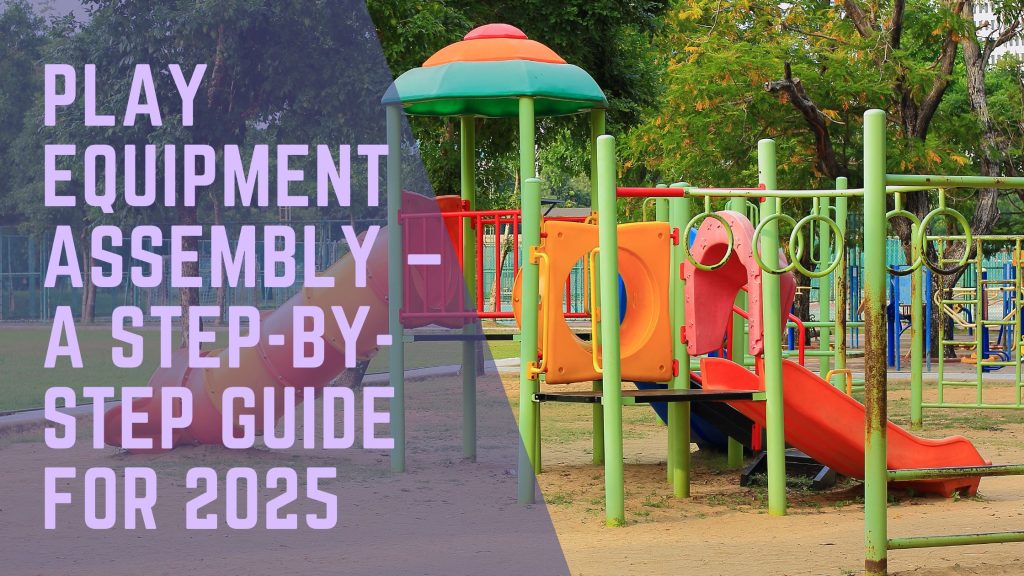
Step-by-Step Guide to Assembling Play Equipment
Now that you have the right tools and materials, let’s dive into the assembly process. Whether you’re assembling a swing set, playset, or another type of backyard playground assembly, the following steps are essential.
Step 1 – Unpacking and Organizing Parts
The first step in how to assemble play equipment is unpacking and organizing the parts. Open the boxes carefully and lay out all the components. Ensure you have all the necessary parts by comparing the inventory list in the manual with what’s in the boxes.
- Tip: Sort the pieces by type (e.g., swings, slides, frame components) to avoid confusion later.
- Tip: Lay the parts on a tarp or large piece of cloth to avoid dirt or damage.
Having everything organized will make the assembly process smoother and more efficient.
Step 2 – Preparing the Ground
The next crucial step in outdoor play equipment setup is preparing the ground. Ensure that the area where you’re assembling the playset is level, free of debris, and large enough to accommodate the full size of the equipment.
- Clear the area: Remove any rocks, sticks, or other obstacles that might obstruct the setup.
- Level the ground: Use a shovel and a level to ensure that the area is flat. If the ground is uneven, consider adding a layer of sand or gravel to help level it out.
- Safety buffer zone: Make sure there’s enough space around the playset for children to play safely, ideally 6–10 feet of clear space.
Properly preparing the ground will help with kids play equipment setup and prevent future issues related to instability.
Step 3 – Assembling the Frame
With the ground prepared, it’s time to begin assembling the frame of the play equipment. This will serve as the structure that supports all the accessories (swings, slides, etc.).
- Start with the base: Assemble the main frame by following the instructions step-by-step. Typically, the frame will consist of vertical and horizontal beams that connect to form a sturdy base.
- Secure bolts: Use a power drill to insert screws and bolts to hold the pieces together. Ensure each connection is tight and secure.
- Check alignment: Use a level to make sure the frame is straight and upright.
The frame is the backbone of your playset, so it’s important to ensure it’s assembled correctly before moving on to the accessories.
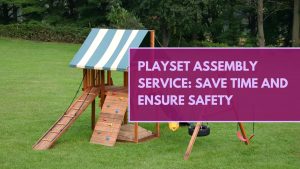
Step 4 – Attaching Swings, Slides, and Accessories
Once the frame is in place, it’s time to attach the swings, slides, and any other accessories. These elements provide the fun and functionality of the playset, so it’s essential to ensure they are properly attached.
- Swing attachment: Attach the swing set components according to the instructions. Ensure the swing seats are securely fastened to the support beams.
- Slide installation: Carefully attach the slide to the structure, making sure it is firmly secured to the frame.
- Other accessories: If your playset includes ladders, climbing walls, or rope swings, attach them to their respective places, ensuring they are firmly installed.
Playset assembly tips: Double-check that all accessories are securely fastened and aligned with the rest of the frame before moving forward.
Step 5 – Securing and Testing for Stability
After assembling the structure and attaching the accessories, it’s time to check for stability and safety. You don’t want to risk your child’s safety by skipping this important step.
- Tighten everything: Go over all the screws, bolts, and connections one last time, ensuring they are tightly secured.
- Check for wobbling: Gently shake the playset to check for any instability. If any part seems loose, tighten it further.
- Test all accessories: Carefully test the swings, slide, and other elements to ensure they function properly and safely.
For safe play equipment assembly, make sure to check all aspects of the playset before allowing children to use it.
Safety Tips for a Secure Playset
Safety is the number one priority when assembling play equipment. Here are a few tips to keep in mind as you work:
- Use quality materials: Always choose sturdy materials and high-quality hardware to ensure the playset remains safe over time.
- Avoid sharp edges: Smooth down any sharp edges on the playset’s frame or accessories to prevent injury.
- Install safety mats: Place rubber mats or soft mulch underneath the playset, especially under areas like swings and slides, to cushion falls.
- Regular inspections: After assembly, regularly inspect the playset for wear and tear, and tighten any loose screws or bolts.
By following these safe play equipment assembly tips, you can create a secure environment for your kids to enjoy.
Maintenance and Care Tips
Proper maintenance is key to ensuring the longevity and safety of your play equipment. Here are some tips for ongoing care:
- Clean regularly: Clean the playset to remove dirt, debris, and rust. Use a mild detergent and a soft brush.
- Check hardware: Periodically check for loose screws and bolts, and retighten them as needed.
- Wood care: If your playset is made of wood, apply a weatherproof sealant to protect it from the elements.
- Lubricate moving parts: Keep swings and slides running smoothly by lubricating the moving parts with a non-toxic lubricant.
By maintaining your play equipment, you’ll ensure that it stays safe and fun for years to come.
Final Thoughts – Ensuring Safe and Fun Playtime
Assembling outdoor play equipment can be a rewarding experience, especially when you know that your children will enjoy a safe and fun environment. By following this step-by-step play equipment assembly guide, using quality materials, and implementing safety and maintenance practices, you can create a backyard playground that will bring joy to your family for years to come.Remember that playset assembly tips and safe installation are just as important as the fun the equipment brings. By staying vigilant and taking the time to properly assemble and maintain the playset, you’ll ensure that your kids can enjoy it safely throughout the summer and beyond.